
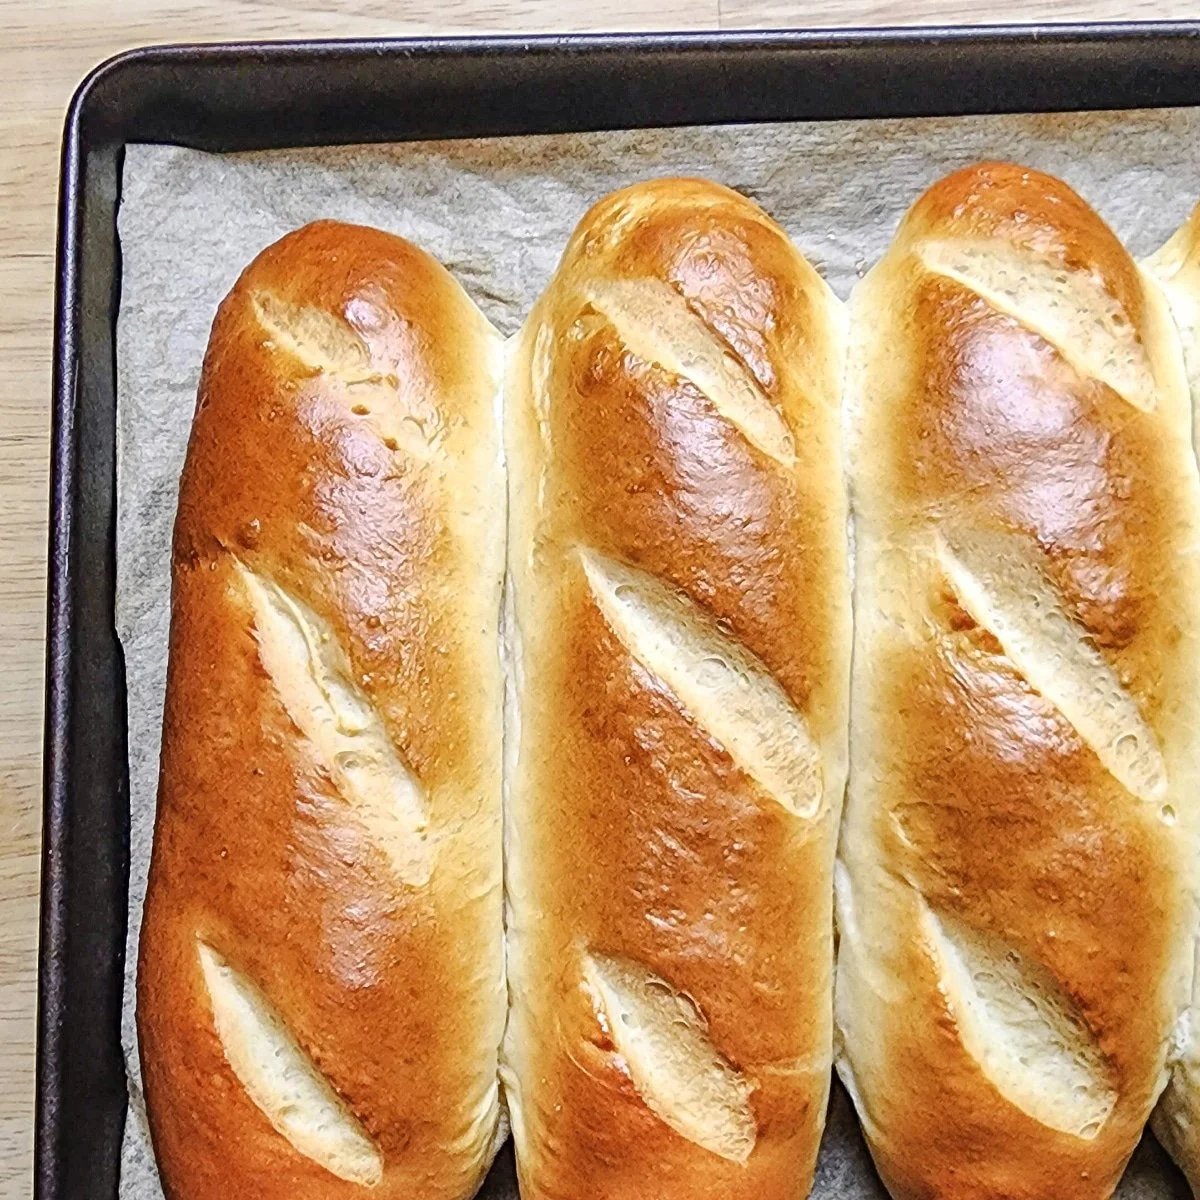
Handmade Sub Rolls are the perfect addition to any meal, delivering a comforting bite that evokes nostalgia and warmth. This recipe is a fantastic way to create soft, airy, and golden rolls that can be filled with your favorite ingredients or simply enjoyed on their own. With simple and accessible ingredients, these rolls are family-friendly and a delightful way to bring everyone together. In this step-by-step guide, I’ll walk you through the process to make these delicious sub rolls from scratch, ensuring you achieve delightful textures and flavors.
Ingredients
-
1 Cup Whole Milk (90℉): This creamy milk is the foundation that keeps your rolls tender and moist.
-
2 ½ Tablespoons Granulated Sugar (30g): Adding a touch of sweetness, this sugar helps the bread to brown beautifully and enhances flavor.
-
2 Teaspoons Active Dry Yeast (11g): This vital ingredient ensures your rolls rise perfectly, creating that fluffy texture we love.
-
3 Cups Bread Flour: The backbone of this recipe, bread flour provides the necessary structure and chewiness for your rolls.
-
2 tsp Fine Sea Salt (12g): Salt enhances flavor and strengthens the dough, balancing the sweetness.
-
2 Eggs (Beaten): Adding richness and color, the eggs help contribute to a smooth and glossy finish.
-
3 Tablespoons Unsalted Butter (Cold, Cubed): This adds a luxurious creaminess to the rolls, creating a rich flavor and better texture.
-
1 Egg White (Beaten – For Egg Wash): This creates a beautiful shine on the rolls once they are baked.
-
1 Tablespoon Water (For Egg Wash): Helps thin the egg wash for even application across the rolls.
Step-by-Step Directions
-
In a medium-sized bowl, combine the warm milk, granulated sugar, and active dry yeast. Let the mixture bloom for 5 to 10 minutes until it becomes frothy, indicating that the yeast is alive and ready to work its magic.
-
While the yeast blooms, in the bowl of a stand mixer, combine the bread flour and fine sea salt. This will be the dry mixture to support the yeast.
-
Add the bloomed yeast mixture and beaten eggs into the bowl with flour and salt. Using the stand mixer on low speed, knead the dough for 3 to 5 minutes until a shaggy dough begins to form. Use a spatula to scrape down the sides as needed for even mixing.
-
Next, add the cold, cubed butter into the mixture. Knead for an additional 8 to 10 minutes until the butter is fully incorporated, and the dough is smooth. At this point, your dough ball should weigh approximately 880g.
-
Turn the dough out onto a lightly floured surface and roll it into a tight ball. Lightly grease a large bowl, place the dough ball inside, and turn it to coat. Cover with a damp cloth and let it rest for 1 hour, or until it has doubled in size.
-
Once the dough has risen, punch it down gently, turning it out onto a lightly floured surface. Divide it into six equal pieces, each weighing around 140g, and roll them into balls.
-
Using a rolling pin, roll each dough ball into a rectangle approximately 9 inches wide by 5 inches tall, with a thickness between ¼ to ½ inch. Starting from one long side, tightly roll the dough into a loaf shape, pinching the seams together to seal. Place the rolls seam side down onto a baking sheet lined with parchment paper.
-
Cover the shaped rolls with a damp cloth or a second baking sheet and let rise for an additional 30 minutes. During this time, preheat your oven to 400°F (200°C).
-
Mix the beaten egg white with water in a small bowl and gently brush the mixture over the tops of the rolls to create a lovely shine.
-
Using a lame or sharp knife, score the tops of the rolls about ¼ inch deep in three spots, allowing steam to escape while baking.
-
Bake the rolls for 15-20 minutes, or until they are golden brown and register an internal temperature of 195-200°F with an instant-read thermometer. Remove from the oven and transfer the rolls to a wire rack to cool completely before slicing.
Tips & Tricks
-
Use Fresh Ingredients: Make sure your yeast is fresh and active for the best rise. Always check the expiration date.
-
Knead the Dough Well: Proper kneading develops gluten, which helps the bread rise and gives it a wonderful texture.
-
Maintain Warm Temperatures: Yeast loves warmth! If your kitchen is cold, consider placing the dough in an oven with the light on to create a warm environment for rising.
Serving Suggestions & Pairings
Handmade Sub Rolls are incredibly versatile. Serve them with sliced meats, cheeses, and fresh veggies to create delicious sandwiches. They also pair wonderfully with soups and salads, making them a fantastic addition to lunch or a family dinner. Consider filling them with classic ingredients like roast beef and cheddar, or turkey with avocado for a healthy twist.
Nutritional Information
Each roll has approximately 190 calories, 6g of protein, 30g of carbohydrates, and 5g of fat. These rolls also provide small amounts of calcium and iron, making them both delicious and a balanced addition to your meal. Be mindful of portion size, and enjoy these rolls as part of a balanced diet.
Storing Tips & Variations
-
Storage: Store your handmade sub rolls in an airtight container at room temperature for up to 3 days. For longer storage, consider freezing them.
-
Freezing: To freeze, allow the rolls to cool completely, then wrap them tightly in plastic wrap and place them in a freezer-safe bag. They can be stored for up to 3 months.
-
Reheating: Thaw rolls in the refrigerator overnight. To reheat, wrap in foil and heat in the oven at 350°F for about 10 minutes.
-
Variations: Feel free to experiment with herbs, spices, or even whole grains in the dough for added flavor and nutrition.
Conclusion
Give this Handmade Sub Rolls recipe a try! The process of making bread from scratch is not only rewarding but also brings an undeniable comfort that can be shared with loved ones. I’d love to hear about your experience and any delicious variations you might create!
FAQs
-
Can I use all-purpose flour instead of bread flour?
Yes, you can use all-purpose flour, but the texture may be slightly different. Bread flour typically yields a chewier and more structured roll. -
What if I don’t have a stand mixer?
You can knead the dough by hand. It may take a bit more time, around 10-15 minutes, but it’s totally doable! -
Can I add herbs or cheese to the dough?
Absolutely! Feel free to mix in dried herbs like oregano or rosemary, or even shredded cheese into the dough for extra flavor. -
How do I know when my rolls are done baking?
Use an instant-read thermometer to check the internal temperature. They should register between 195-200°F. Alternatively, they should be golden brown on the outside. -
Can I make the dough a day ahead?
Yes, you can make the dough and refrigerate it after the first rise. Just be sure to let it come back to room temperature before shaping and the second rise.
Handmade Sub Rolls
Ingredients
Method
- In a medium-sized bowl, combine the warm milk, granulated sugar, and active dry yeast. Let the mixture bloom for 5 to 10 minutes until frothy.
- In the bowl of a stand mixer, combine the bread flour and fine sea salt.
- Add the bloomed yeast mixture and beaten eggs into the bowl with flour and salt. Knead the dough on low speed for 3 to 5 minutes.
- Add the cold, cubed butter and knead for an additional 8 to 10 minutes until smooth.
- Turn the dough onto a lightly floured surface, form it into a ball, and place it in a greased bowl. Cover and let it rise for 1 hour.
- Punch down the risen dough, turn it out, and divide it into six equal pieces.
- Roll each piece into a 9×5 inch rectangle and tightly roll into a loaf shape, sealing seams.
- Place the shaped rolls seam side down on a parchment-lined baking sheet. Cover and let rise for 30 minutes while preheating oven to 400°F (200°C).
- Mix the beaten egg white with water and brush over the tops of the rolls.
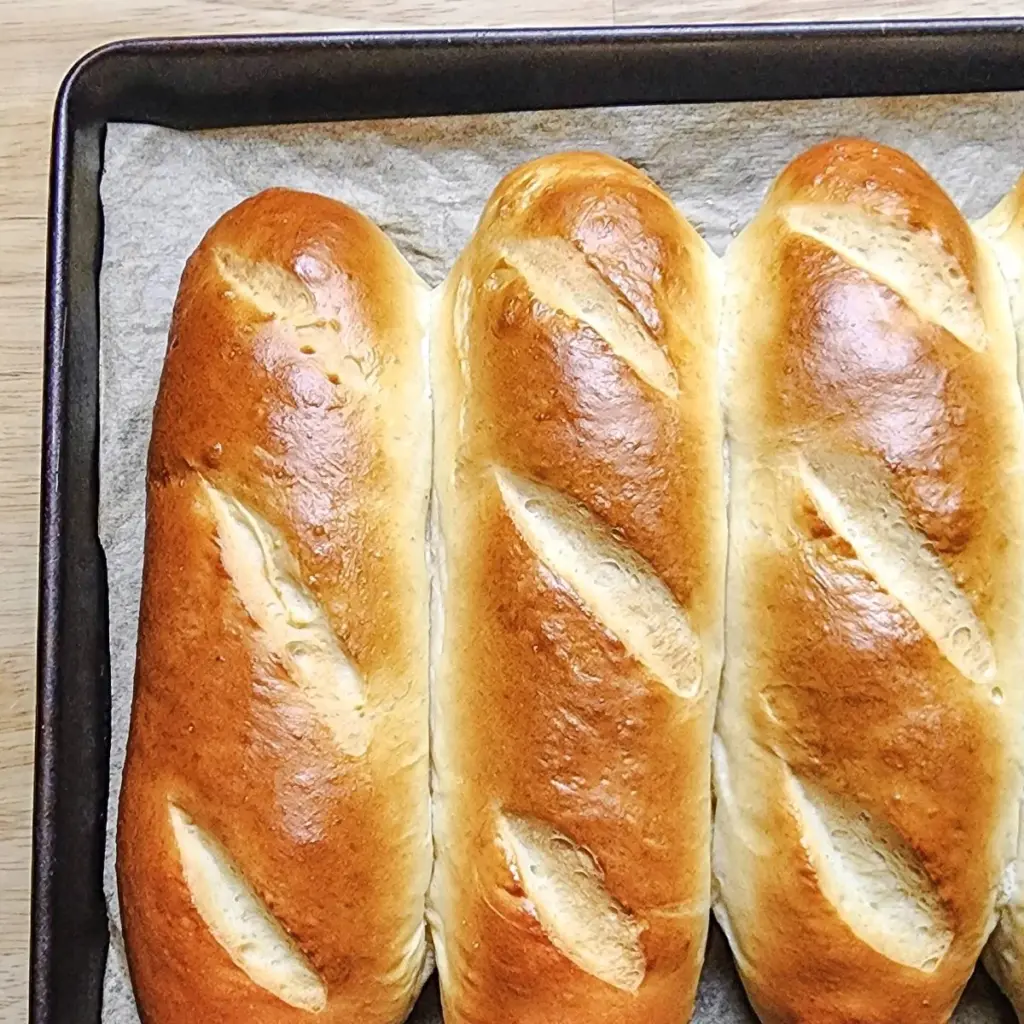
- Score the tops of the rolls about ¼ inch deep in three spots.
- Bake for 15-20 minutes until golden brown and internal temperature reaches 195-200°F.
- Cool completely on a wire rack before slicing.

Leave a Reply