
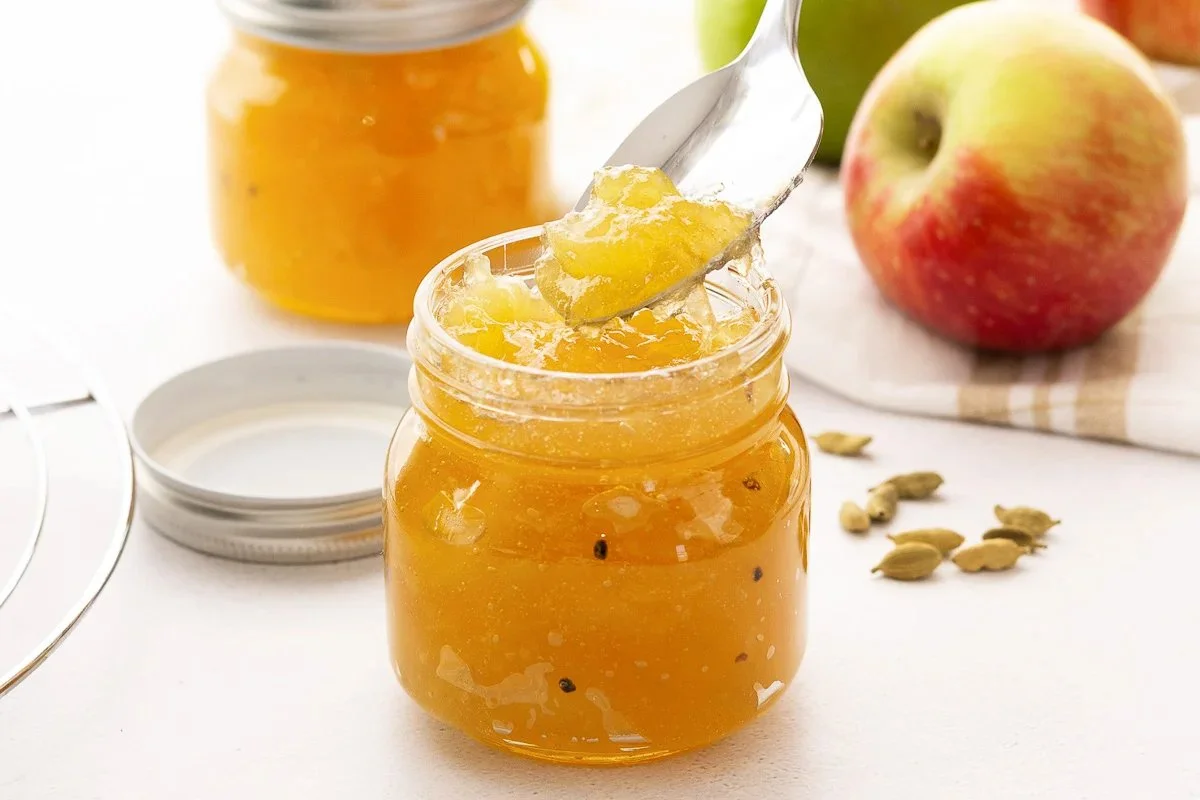
Apple Jam is a delightful concoction that fills your home with a sweet, inviting aroma and brings a wave of nostalgia with every spoonful. This simple yet satisfying recipe is perfect for all ages and occasions, making it a must-try for anyone looking to create their own homemade jam. The vibrant flavor of juicy apples combined with aromatic spices makes this jam a comforting addition to breakfast or a lovely gift for loved ones. Let’s dive into this step-by-step process that will have you enjoying your homemade Apple Jam in no time.
Ingredients
To create this luscious Apple Jam, you’ll need the following ingredients:
- 6 large apples – A mix of Granny Smith (crisp and slightly tart) and Honeycrisp (juicy and sweet) offers the perfect balance in flavor.
- 2 1/2 cups granulated sugar – This essential sweetener transforms the apples into rich, glossy jam.
- 5 cardamom pods, crushed – These aromatic pods add an exotic warmth that elevates the flavor profile beautifully. Use a rolling pin or a heavy spoon to gently crack open the pods.
- Juice of 2 lemons, divided – The tartness from the lemon juice enhances the brightness and preserves the apples’ lovely color and freshness.
Step-by-Step Directions
Step 1: Prepare the Apples
Begin by filling a large bowl with cold water and squeezing the juice of one lemon into it. The lemon water will prevent the apples from browning. Next, peel, core, and quarter the apples, adding them to the lemon water as you work. This is a crucial step to keep your apples looking fresh and vibrant.
Step 2: Dice the Apples
After you’ve quartered all the apples, remove them from the water, discarding the liquid. Finely dice the apples into small pieces to ensure even cooking and a delightful texture in your finished jam.
Step 3: Cook the Apples
In a heavy-bottomed pot, combine the diced apples, granulated sugar, crushed cardamom pods (and any seeds that may have escaped), and the juice of the other lemon. Stir the mixture well, then bring it to a boil over medium-high heat.
Step 4: Boil the Jam
Allow the mixture to boil uncovered, stirring often for about 30-40 minutes. As the mixture heats, it will thicken beautifully. At about the halfway mark, consider using an immersion blender to blend the jam slightly, depending on your texture preference. If you prefer chunky jam, leave most apple pieces intact, being cautious of hot splatter.
Step 5: Jar the Jam
Once your jam has thickened to your liking, use a ladle to pour the hot jam into clean, sterilized jars. Make sure to cover them tightly once filled, and let cool at room temperature before placing them in the refrigerator to set. This scrumptious jam can last up to 2-3 weeks in the fridge and is freezer-safe for longer storage.
Tips & Tricks
- Always use fresh, firm apples to guarantee the best flavor and texture.
- For a unique twist, consider adding a pinch of cinnamon or ginger for extra warmth.
- Make sure your jars are properly sterilized to increase the shelf life of your jam.
- Taste the jam near the end of cooking; feel free to adjust the sugar to suit your sweetness preference.
Serving Suggestions & Pairings
Apple Jam is incredibly versatile! Spread it generously on warm toast or fresh croissants for breakfast. Stir it into yogurt or oatmeal for added flavor and nutrition. It also pairs wonderfully with cheese platters—try it with creamy brie or sharp cheddar for an indulgent treat. Additionally, consider using Apple Jam as a filling for pastries or cakes for an enchanting dessert.
Nutritional Information
One tablespoon of Apple Jam contains approximately 50 calories, along with trace amounts of vitamins and minerals from the apples. While it’s a delicious treat, it’s always wise to enjoy jam in moderation, considering its sugar content.
Storing Tips & Variations
To store your Apple Jam, keep it in the refrigerator in tightly sealed jars; it will maintain optimal flavor for up to three weeks. For longer storage, freeze the jam in airtight containers. If you’d like to experiment, consider varying the fruit—mix apples with pears or add chopped fruits like strawberries for a mixed-flavor jam. You can even incorporate different spices, such as nutmeg, for a seasonal twist.
Conclusion
Now that you have this delightful Apple Jam recipe at your fingertips, I encourage you to try making it yourself. The process is not only easy but also extremely rewarding when you taste the sweet, homemade goodness. Share your results and any variations you tried with friends and family. There’s nothing like the satisfaction of creating something delicious in your own kitchen!
FAQs
Can I use other types of apples to make Apple Jam?
Absolutely! You can experiment with different apple varieties. Just make sure to strike a balance between tart and sweet apples for the best flavor.
How do I know when my jam is properly thickened?
The jam is ready when it coats the back of a spoon and has a spreadable consistency. You can also perform a "sheeting test" by dipping a spoon into the jam; when it drips off, it should form a sheet rather than individual drops.
Can I can my Apple Jam for longer storage?
Yes, you can process the filled jars in a water bath to create a seal—this allows for safe long-term storage in a cool, dark place.
Can I reduce the amount of sugar in this recipe?
While sugar is essential for preservation and consistency, you can try reducing it slightly. Just bear in mind that it might alter the jam’s texture and shelf life.
How do I prevent my Apple Jam from splattering while cooking?
To minimize splatter, reduce the heat slightly or cover the pot with a splatter screen, being sure to stir regularly to prevent sticking or burning.
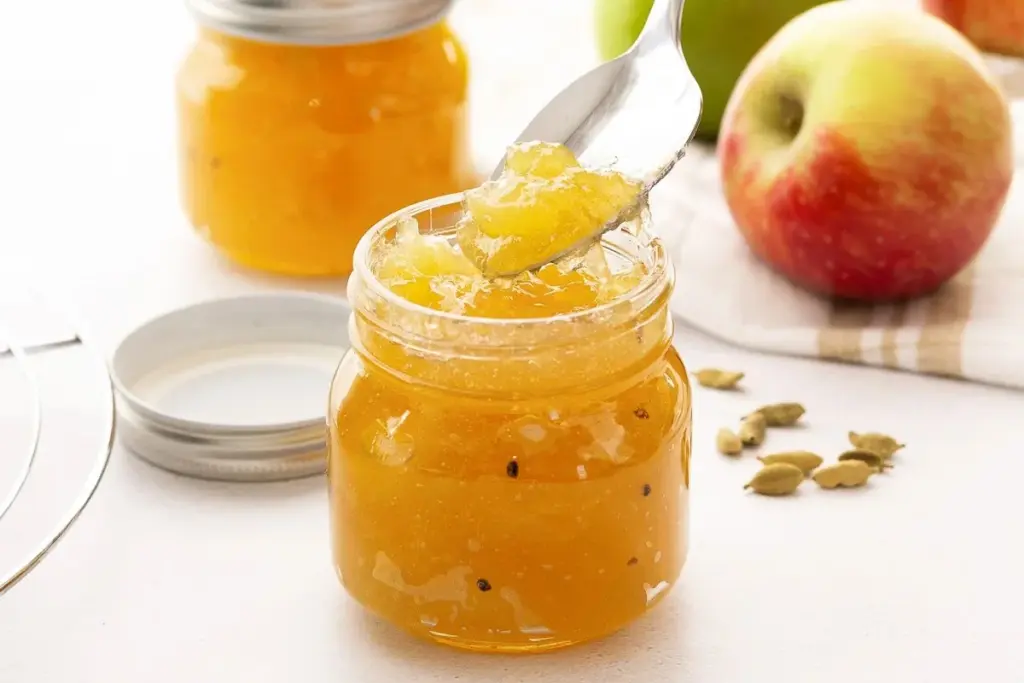
Apple Jam
Ingredients
Method
- Fill a large bowl with cold water and squeeze the juice of one lemon into it to prevent the apples from browning.
- Peel, core, and quarter the apples, adding them to the lemon water as you work.
- Remove the apples from the water and finely dice them into small pieces.
- In a heavy-bottomed pot, combine the diced apples, granulated sugar, crushed cardamom pods, and the juice of the other lemon.
- Stir the mixture well and bring it to a boil over medium-high heat.
- Boil the mixture uncovered for about 30-40 minutes, stirring often until it thickens.
- Optionally, use an immersion blender to blend the jam to your desired texture.
- Once thickened, pour the hot jam into clean, sterilized jars and cover tightly.
- Let cool at room temperature before refrigerating.

Leave a Reply