
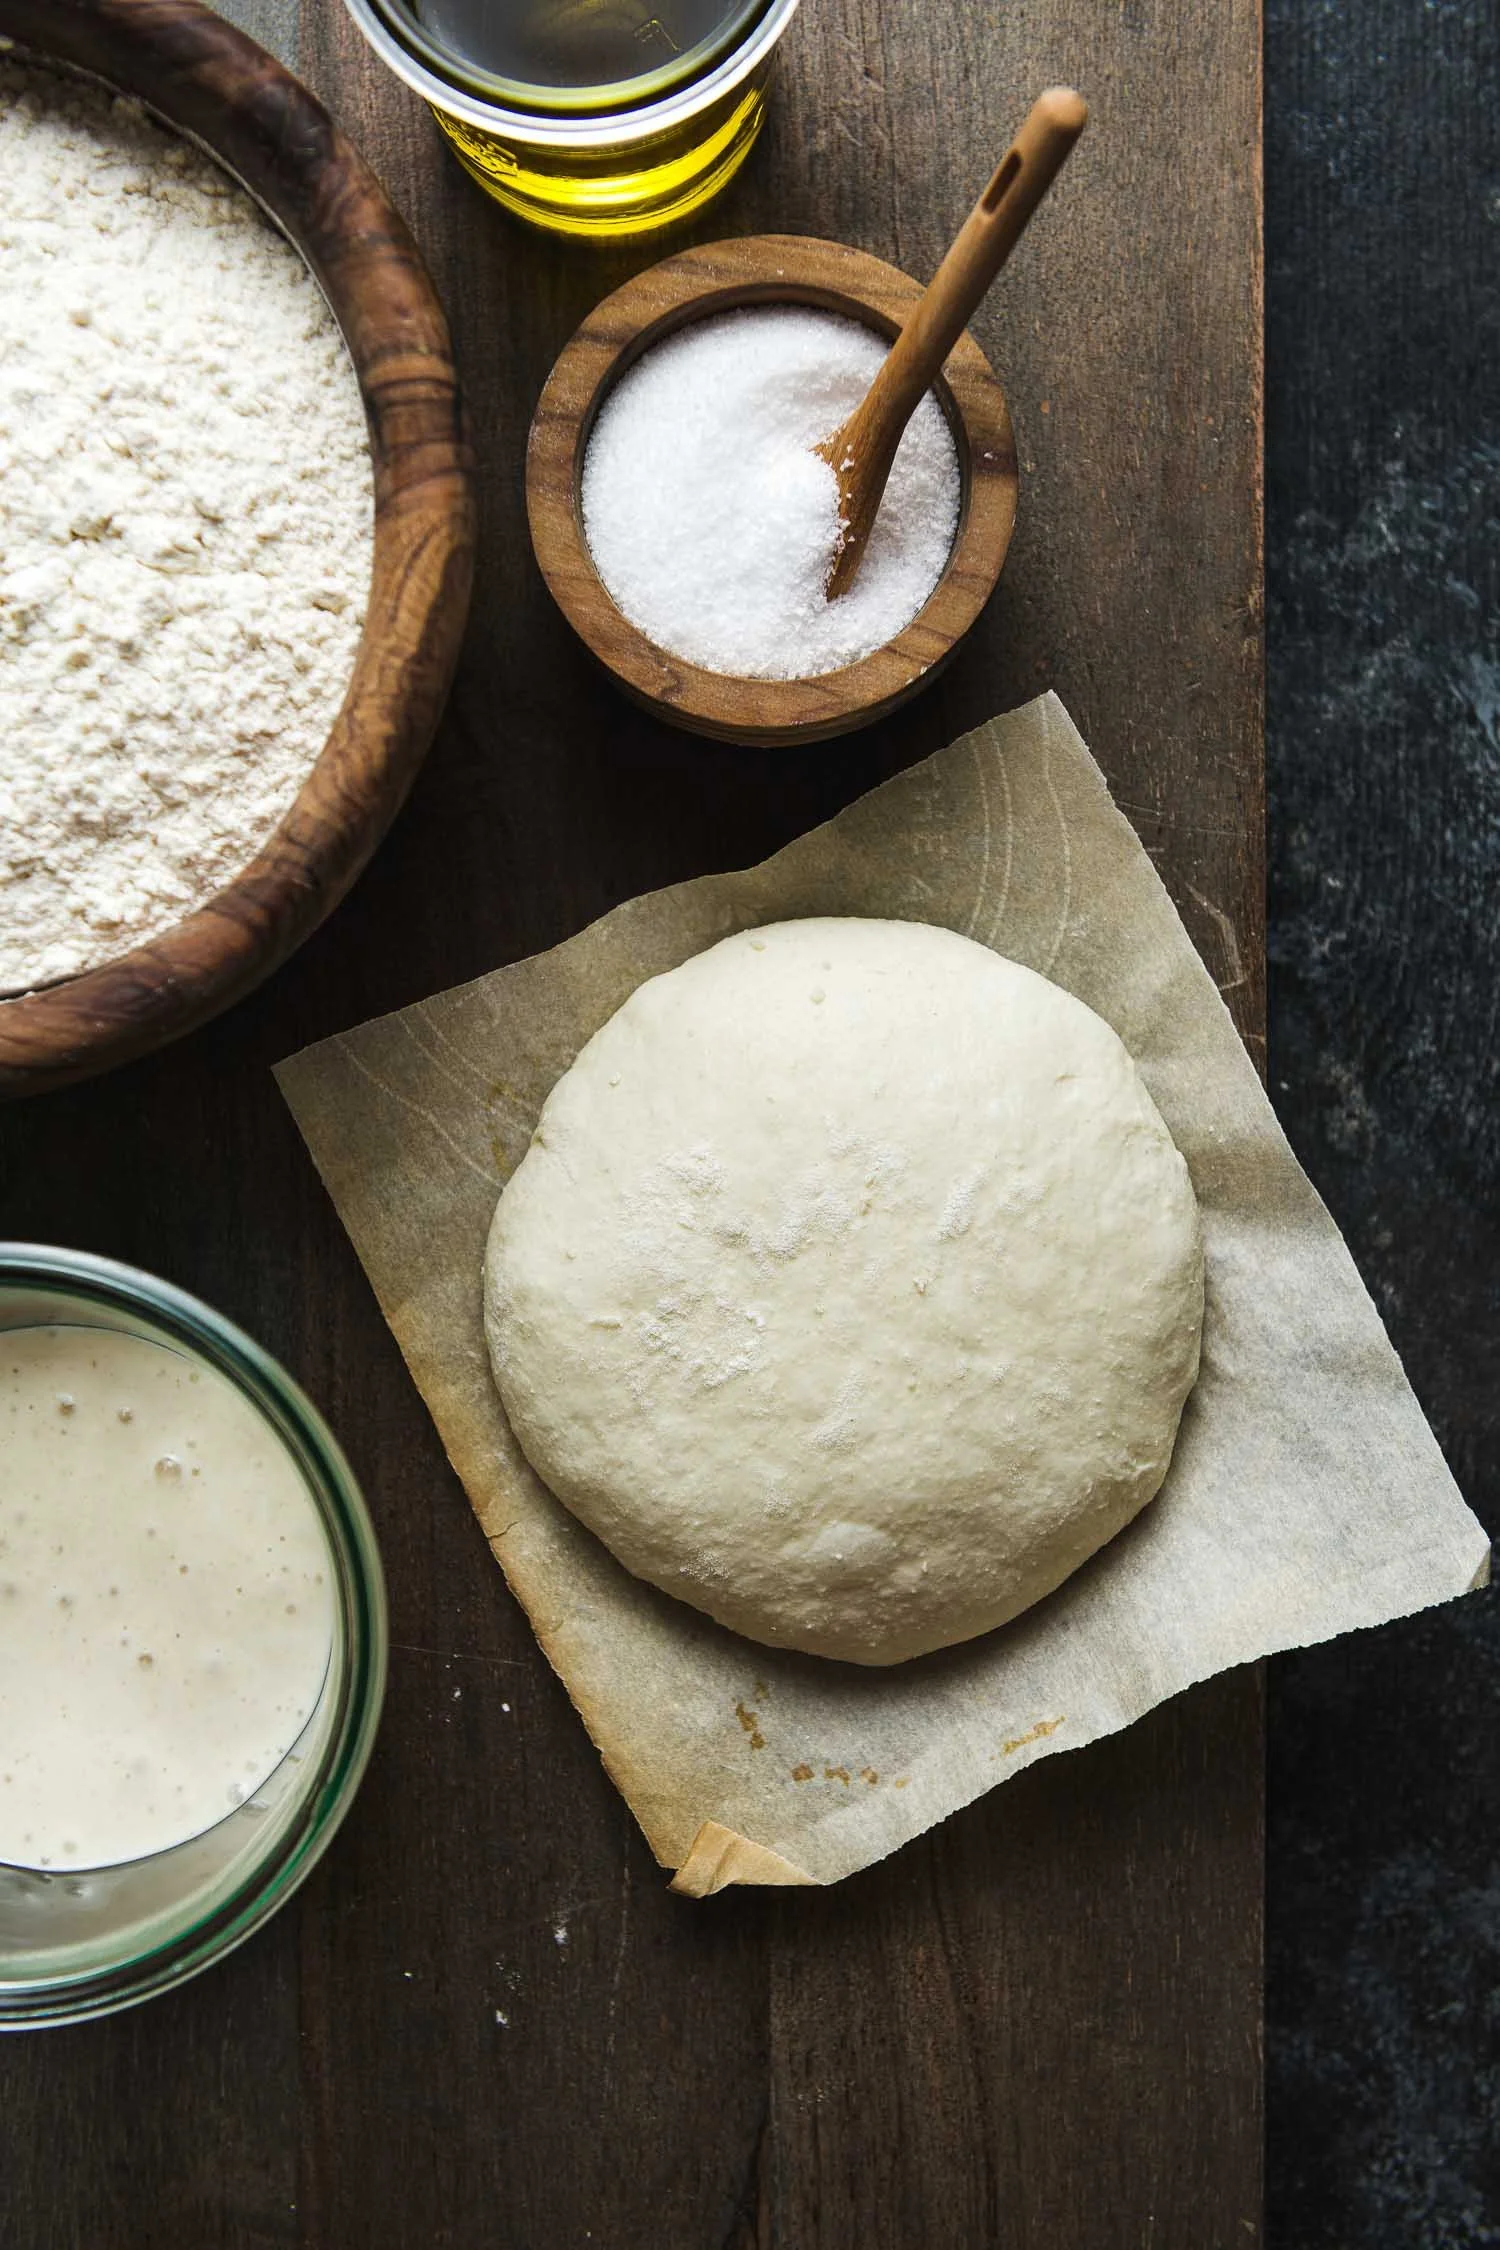
Homemade Sourdough Pizza Dough transforms the delicious experience of traditional pizza into a heartfelt family activity. This recipe captures the essence of homemade meals—the aromatic scent of baking bread, the joy of creating something from scratch, and the delightful anticipation of a hot, cheesy pie straight from the oven. Making your own pizza dough is not only easy but also deeply satisfying, as each step allows you to pour love into your meal. The step-by-step process will guide you through creating a crust that’s perfectly crispy on the outside and tender on the inside, ready to hold your favorite toppings. So roll up your sleeves, and let’s get started on this delightful journey!
Ingredients
For this delectable Homemade Sourdough Pizza Dough, gather the following ingredients:
- 400 grams 00 flour (or bread flour or all-purpose flour): This flour’s fine texture ensures a tender crust with the perfect chew.
- 50 grams semolina flour (or bread flour or all-purpose flour): Adds a lovely bite and a slightly nutty flavor to your dough.
- 330 grams lukewarm water: The warmth helps activate your sourdough starter while keeping the dough supple.
- 70 grams sourdough starter: Ensure it’s active or fed the night before for the best rise and flavor.
- 9 grams kosher salt: Essential for seasoning and controlling the dough’s fermentation.
- 25 grams olive oil (optional): Gives a touch of richness; replace it with the same amount of water if preferred.
- Pizza sauce: I use pureed tomato sauce seasoned with herbs, onion powder, garlic powder, and salt, which brings an aromatic burst of flavor.
- Mozzarella cheese: Grated or sliced thinly, this cheese melts beautifully, creating that classic gooey texture.
- Prosciutto slices: For a savory touch that complements the cheese perfectly.
- Fresh basil: A fragrant topping that elevates your pizza with a vibrant finish.
Step-by-Step Directions
Day 1, Mix the Dough
Start by mixing together the flour, water, sourdough starter, kosher salt, and olive oil in a bowl. Stir them together, ensuring everything is well combined. Cover the bowl with a lid, plastic wrap, or a towel, allowing the dough to rest for 30 minutes to an hour. This initial resting phase hydrates the flour and is crucial for developing gluten. Tip: Take the dough’s temperature each time you handle it to help assess fermentation time effectively.
Day 1, Stretch and Fold
Next, carry out four stretch and fold sessions over the course of two hours. Every thirty minutes, grab one portion of the dough and gently fold it over itself, pulling until you feel resistance; this promotes strength in the dough structure. After each folding session, cover the dough again and let it rest in between.
Day 1, Bulk Fermentation
After completing the stretch and folds, allow the dough to continue fermenting. You’re looking for it to rise about 50% in volume; it’s okay if it’s slightly less or more. Depending on the dough temperature, this can take anywhere from one hour to a few hours.
Day 1, Cold Fermentation
Once the bulk fermentation is complete, store the covered dough in the refrigerator. This cold fermentation can last up to five days; you can take portions as you plan to use them. This step deepens the flavor and improves the dough’s texture over time.
Day 2 (or 3, 4, or 5), Divide and Final Proof
Remove the dough from the refrigerator and use a bench scraper to divide it on a lightly floured surface. For this recipe, I like to divide it into three or four portions. Shape each portion into a round and place them on a baking pan dusted with cornmeal. Cover and let them rise until doubled in size, which may take a couple of hours or longer. You’ll know they are ready when the surface is doubled and bubbly.
Day 2 (or 3, 4, or 5), Shape and Bake
Preheat your oven to 450ºF, ideally with a baking stone inside. This will ensure a crispy crust. Once the oven reaches temperature, shape each dough round by transferring it to a pizza peel or parchment paper for easier handling. Dust with cornmeal to prevent sticking. Stretch the round gently to the desired size, keeping the rim thicker for a delightful crust. Assemble with your favorite toppings, then bake for 8-10 minutes or until the pizza is golden and bubbly. Repeat the process for all remaining pizzas.
Tips & Tricks
- Dough Temperature: Monitor the temperature regularly when working with your dough. Ideal fermentation time will depend on how warm your kitchen is.
- Toppings Consideration: Experiment with different toppings beyond the classic margherita. Seasonal vegetables, various proteins, and bespoke sauces can elevate your pizza experience.
- Flour Types: Don’t hesitate to experiment with different flours—Italian ’00’ gives the best results, but bread flour or all-purpose can also work beautifully for the crust.
- Fermentation Time: If you’re in a hurry, you can skip cold fermentation, but the flavor and texture improve tremendously with longer fermentation.
- Use of Stone: If you don’t have a baking stone, a heavy baking sheet turned upside down can work as a substitute.
Serving Suggestions & Pairings
Homemade Sourdough Pizza Dough is perfect for family nights, get-togethers, and casual gatherings. Serve your pizza with a side of mixed greens dressed in a simple vinaigrette for a refreshing contrast. Pair with a light white wine or a fizzy sparkling water to cleanse the palate. This recipe can easily become a cherished tradition for any celebration or weekday dinner.
Nutritional Information
While specific nutritional values will vary based on toppings chosen, one slice of plain cheese pizza (made with this dough) generally contains around 250-300 calories. It is important to note the balance of nutrients in your meal; while pizza can be considered as comfort food, topping it with fresh veggies and lean proteins can transform it into a nutritional powerhouse.
Storing Tips & Variations
To store any leftover dough, wrap it tightly in plastic wrap and place it in the refrigerator for up to five days. For longer storage, the dough can be frozen for up to three months. Thaw overnight in the fridge before use. Variations on this dough can include adding herbs or spices directly into the mixture, or using whole wheat flour for a nutritionally denser dough.
Conclusion
Homemade Sourdough Pizza Dough is an experience brimming with warmth, flavor, and the joy of cooking from scratch. I encourage you to try this recipe and make it your own. Don’t hesitate to share your experience, whether it’s the unique toppings that you chose or the happy faces of family members enjoying your creation. Every homemade pizza is a canvas for culinary creativity!
FAQs
1. How can I tell if my sourdough starter is active?
A healthy, active sourdough starter will be bubbly and have doubled in size after being fed. It should produce a pleasant, slightly tangy smell.
2. Can I make this dough ahead of time?
Absolutely! You can prepare the dough and keep it in the refrigerator for up to five days, allowing for incredible flavor development.
3. Is it okay to use all-purpose flour instead of 00 flour?
Yes, all-purpose flour will work well, though the texture may be slightly different. Experimenting with various flours can lead to fun results!
4. How do I store leftover pizza?
Let any leftover pizza cool before storing it in an airtight container in the refrigerator. It can also be frozen to enjoy later—simply reheat in the oven for the best texture.
5. Can I use a bread machine to make the dough?
Certainly! A bread machine can simplify the process; just follow the manufacturer’s instructions for dough mixing and fermentation.
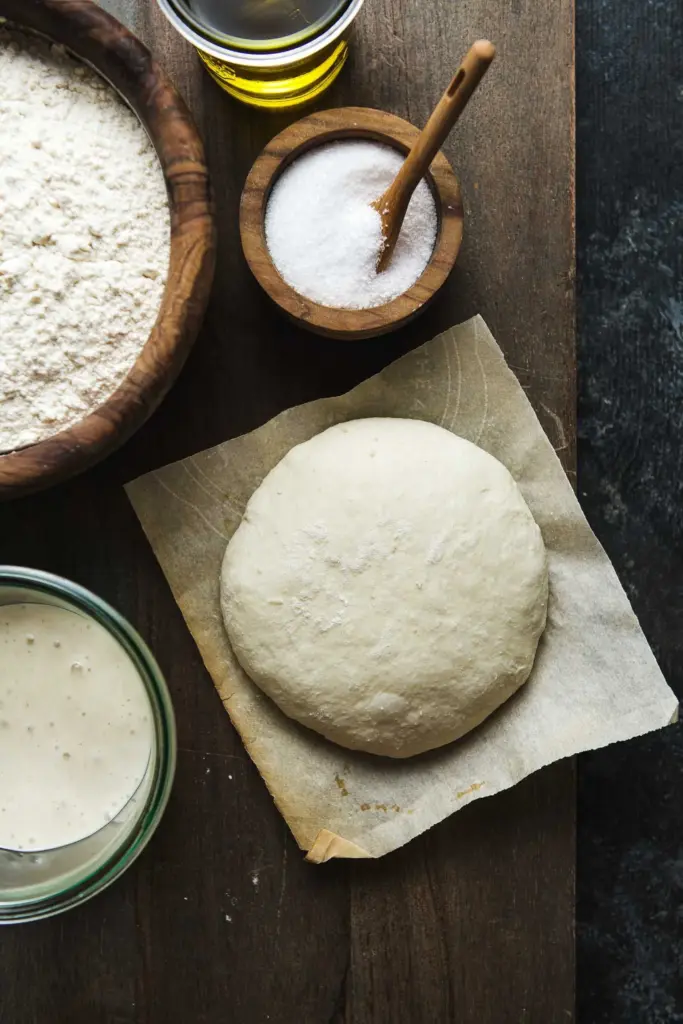
Homemade Sourdough Pizza Dough
Ingredients
Method
- Start by mixing together the flour, water, sourdough starter, kosher salt, and olive oil in a bowl until well combined.
- Cover the bowl and let the dough rest for 30 minutes to an hour.
- Perform four stretch and fold sessions over two hours, folding the dough every thirty minutes.
- Allow the dough to rise about 50% in volume, which can take anywhere from one hour to a few hours.
- Store the covered dough in the refrigerator for up to five days.
- Remove the dough from the refrigerator and divide it into three or four portions on a lightly floured surface.
- Shape each portion into a round and place them on a pan dusted with cornmeal. Cover and let rise until doubled in size.
- Preheat your oven to 450ºF with a baking stone inside.
- Transfer each dough round to a pizza peel, dusting with cornmeal to prevent sticking.
- Stretch the round to desired size, keeping the rim thicker, then add toppings and bake for 8-10 minutes or until golden.



Leave a Reply