
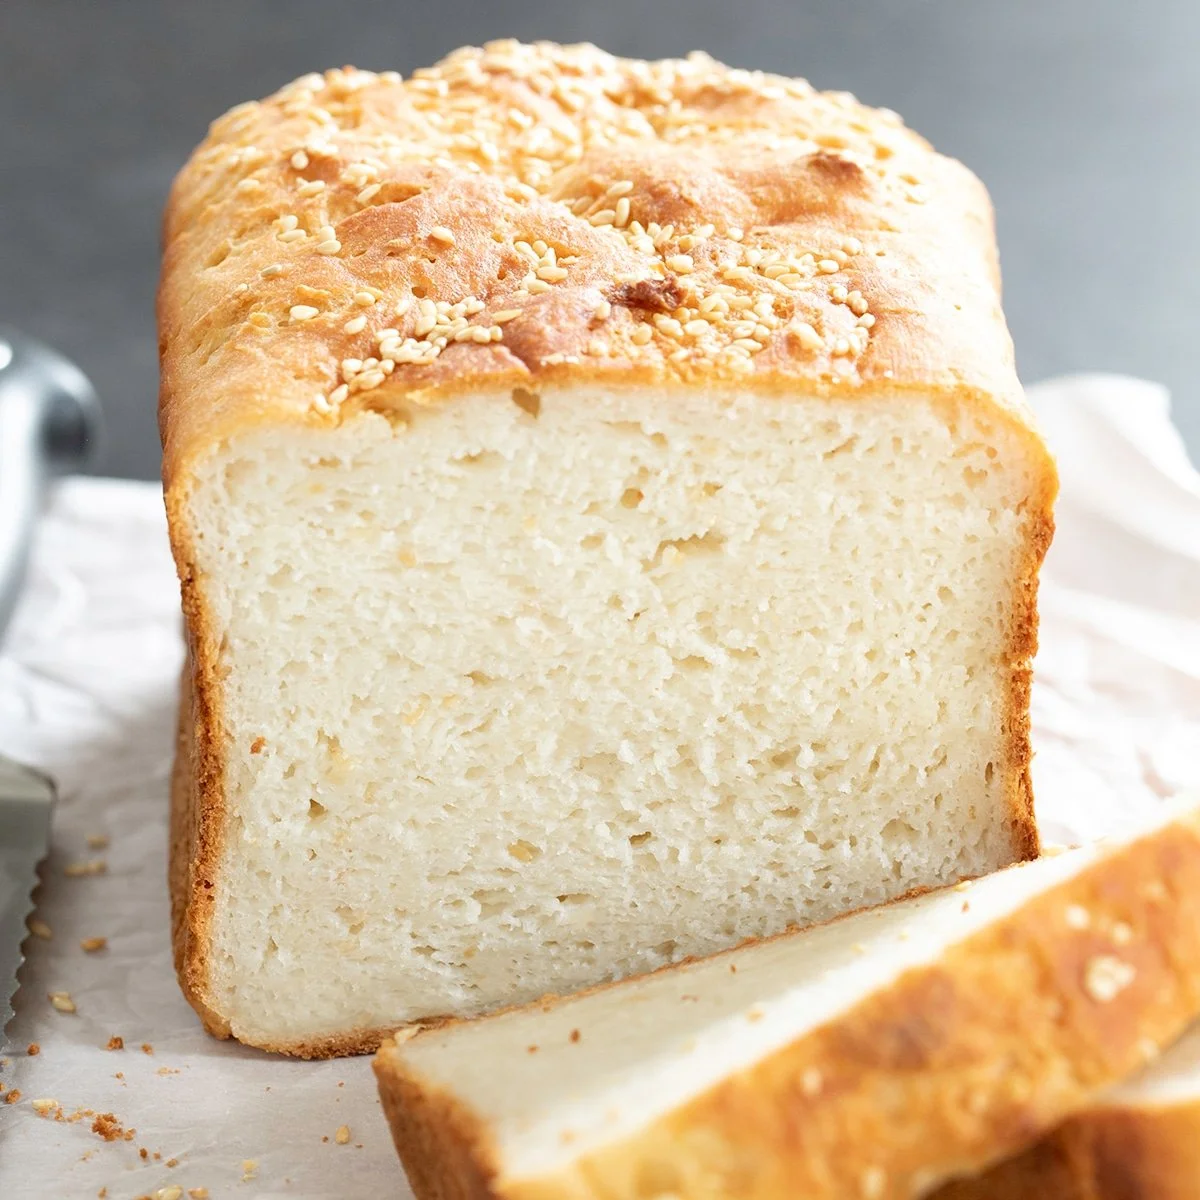
Gluten Free Bread Recipe
Gluten Free Bread Recipe is an absolute delight, providing that warm, comforting feeling of freshly baked bread without the gluten! Imagine the aromas wafting through your kitchen as you prepare this loaf, with its soft, pillowy texture waiting to be sliced. This bread is perfect for those with dietary restrictions, yet it has all the elements that make for a satisfying sandwich or toast. In this guide, I’ve included a step-by-step approach that makes this gluten-free delight easy and achievable for everyone, whether you’re a seasoned baker or stepping into the kitchen for the first time.
Ingredients
- 3 cups all-purpose gluten-free flour blend (your choice; make sure it’s a quality blend that includes xanthan gum)
- 3 teaspoons xanthan gum (omit if your blend already contains it; this ingredient helps give the bread structure)
- 2 1/2 teaspoons instant yeast (for that delightful rise)
- 1/4 teaspoon cream of tartar (adds a whisper of tang)
- 2 tablespoons granulated sugar (to balance flavors and encourage browning)
- 2 teaspoons kosher salt (to enhance every savory bite)
- 1 1/2 cups warm milk (around 95°F; provides moisture and richness)
- 4 tablespoons unsalted butter (melted and cooled; adds a lovely richness)
- 1 teaspoon apple cider vinegar (for lightness and a slight tang)
- 2 egg whites (at room temperature; for that airy lift)
- Toasted sesame seeds (optional, for a nutty finish)
Dreaming of warm bread filled with savory aromas? Each ingredient plays a crucial role – from the nutty flavor of the butter to the fluffiness provided by the egg whites. With this blend of ingredients, you’ll create a delightful loaf that is as pleasing to the palate as it is to the eyes.
Step-by-Step Directions
-
Prepare Your Pan: Grease or line a 9-inch x 5-inch loaf pan, or a 1-pound Pullman-style loaf pan with a lid. To make it easier to remove the bread later, consider lining the bottom and sides with parchment paper.
-
Mix the Dry Ingredients: In the bowl of a stand mixer fitted with the paddle attachment, combine the flour blend, xanthan gum, instant yeast, cream of tartar, and sugar. Whisk them together with a handheld whisk to ensure they’re well blended.
-
Add Salt: Sprinkle the kosher salt into the mixture and whisk again. This step ensures the salt is evenly distributed, enhancing flavors throughout the bread.
-
Incorporate the Wet Ingredients: Add in the warm milk, melted butter, apple cider vinegar, and egg whites. Start mixing on low speed with the paddle attachment, scraping down the sides of the bowl as necessary to eliminate any dry patches.
-
Mix Until Smooth: Increase the speed to medium-high and mix for about 3 minutes. The dough should appear thick, smooth, and slightly whipped – this consistency will ensure a tender loaf.
-
Transfer to the Pan: Scrape the dough into your prepared loaf pan. Using a wet spatula, smooth out the top to create an even surface.
-
Let the Dough Rise: Cover the dough loosely with lightly oiled plastic wrap and let it rise in a warm, draft-free spot for about 30 to 45 minutes. The dough should reach about 150% of its original size; it’s okay if it doesn’t double completely.
-
Preheat Your Oven: When the dough has risen, preheat your oven to 375°F. Keep an eye on the dough – if cracks start to form, be cautious as it may be overproofing.
-
Prepare for Baking: If desired, remove the plastic wrap and gently slash the top of the loaf about 1/4-inch deep using a sharp knife. If you’re using toppings like sesame seeds, brush the top with melted butter and sprinkle those seeds on top.
-
Bake the Bread: Place the loaf pan in the middle of your preheated oven. Bake for 45 minutes to 1 hour. If you’re using a Pullman pan, remove the lid after about 40 minutes to allow the crust to form more fully.
-
Check for Doneness: The bread is done when the internal temperature reads about 205°F with an instant-read thermometer and when a toothpick inserted in the center comes out clean. The crust should look crisp and nicely browned.
-
Cool: Once baked, let the loaf cool in the pan for about 10 minutes. Then, carefully remove it from the pan and transfer it to a wire rack. Let it cool completely, ideally for at least 1 hour, before slicing with a serrated knife.
Tips & Tricks
- Keep It Warm: For a more reliable rise, turn on your oven for a minute, then turn it off, and use that slightly warm environment for your dough to rise.
- Flour Measurement: Weigh your flour for the most accurate measurement. Gluten-free flour can vary in density.
- Experiment with Flavors: Add herbs or spices to the dough, like rosemary or garlic powder, for a flavor twist.
- Don’t Rush the Cooling: Allow the bread to cool fully to develop its flavor and texture. Cutting too soon can lead to gummy bread.
Serving Suggestions & Pairings
This gluten-free bread is versatile and can be served in various delightful ways. Enjoy it toasted with butter and a sprinkle of cinnamon sugar for breakfast, or use it to make hearty sandwiches layered with fresh veggies, meats, or nut butter. It also pairs beautifully with soups and salads, making it an ideal accompaniment for dinner.
Nutritional Information
One slice of gluten-free bread typically contains about 150 calories, 4g of protein, 3g of fat, and 28g of carbohydrates. It’s important to remember that, like all breads, moderation is key. Incorporate it as part of a balanced diet rich in vegetables, fruit, and proteins.
Storing Tips & Variations
Store any leftover bread tightly wrapped in plastic wrap at room temperature for up to 2 days. For longer storage, freeze the bread. Once cooled, wrap it tightly and freeze. You can also slice the loaf before freezing, allowing for easy defrosting in the toaster when needed.
For variations, consider incorporating seeds, nuts, or dried fruit into the dough. This can add unique flavors and textures to your bread!
Conclusion
I encourage you to try this Gluten Free Bread Recipe, which is designed to be approachable and enjoyable for novice bakers. Let the comforting smell of freshly baked bread fill your kitchen and enjoy each slice as it brings you joy. I would love for you to share your experiences and any variations you create!
FAQs
-
Can I use regular all-purpose flour instead of gluten-free flour?
No, this recipe is specifically formulated for gluten-free flour. Regular flour will not yield the same results. -
What if I don’t have xanthan gum?
If your gluten-free flour blend already contains xanthan gum, you can omit it. Otherwise, you could substitute it with psyllium husk for similar effects. -
Can I substitute almond milk for regular milk?
Yes, you can use any plant-based milk, but make sure it is warm when added to the ingredients. -
How can I tell if the bread is fully baked?
The loaf should feel firm, have a golden-brown crust, and a toothpick inserted into the center should come out mostly clean. -
Is it possible to double this recipe?
Yes! You can double the ingredients and use two separate loaf pans, or bake them one after the other. Just ensure your mixer can handle the increased volume.
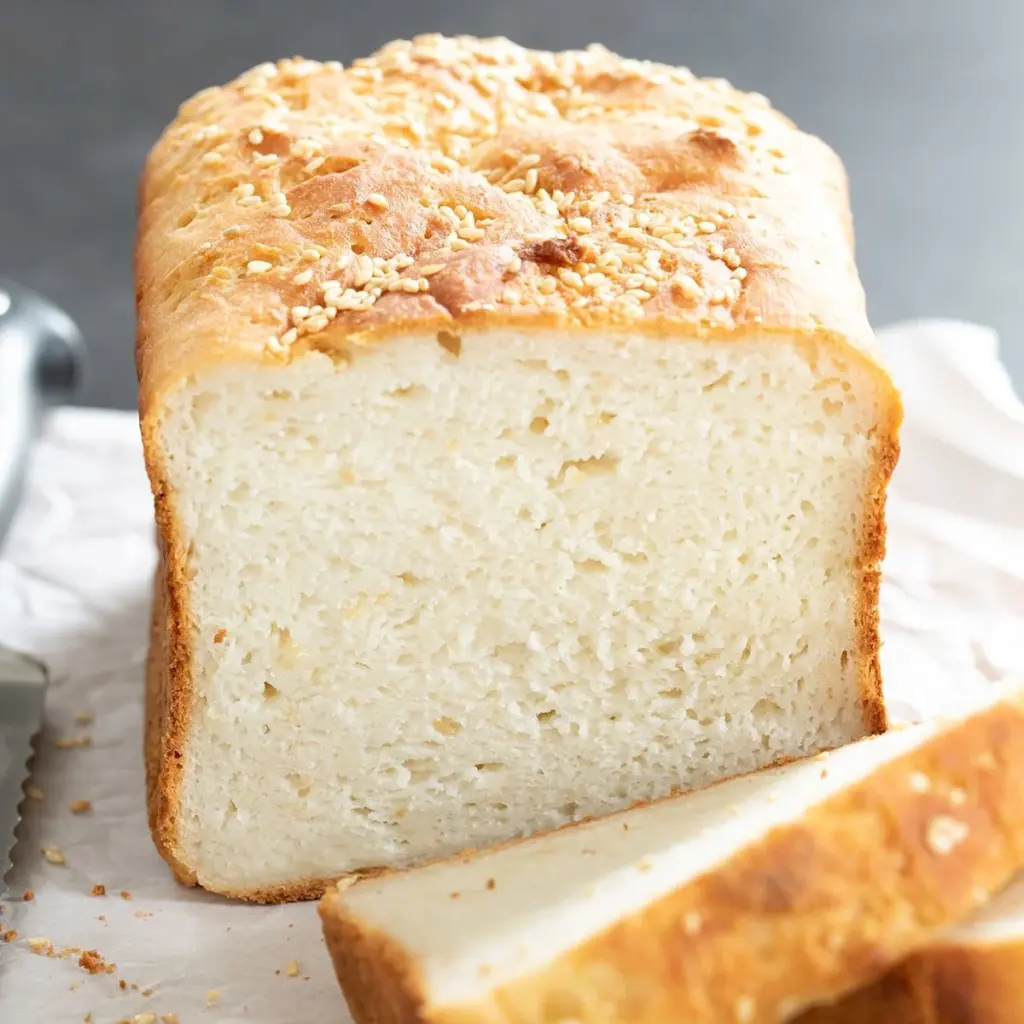
Gluten Free Bread
Ingredients
Method
- Grease or line a 9-inch x 5-inch loaf pan, or a 1-pound Pullman-style loaf pan with a lid.
- In the bowl of a stand mixer fitted with the paddle attachment, combine the flour blend, xanthan gum, instant yeast, cream of tartar, and sugar.
- Sprinkle the kosher salt into the mixture and whisk again.
- Add in the warm milk, melted butter, apple cider vinegar, and egg whites.
- Start mixing on low speed, scraping down the sides of the bowl as necessary.
- Increase the speed to medium-high and mix for about 3 minutes until thick and smooth.
- Scrape the dough into your prepared loaf pan and smooth out the top with a wet spatula.
- Cover the dough loosely with oiled plastic wrap and let it rise in a warm spot for 30 to 45 minutes.
- Preheat your oven to 375°F when the dough has risen.
- Gently slash the top of the loaf if desired, and brush with melted butter before adding toppings.
- Bake in the middle of the preheated oven for 45 minutes to 1 hour.
- Check for doneness with an internal temperature of 205°F.
- Let the loaf cool in the pan for 10 minutes before transferring it to a wire rack.
- Cool completely, ideally for at least 1 hour before slicing.

Leave a Reply