
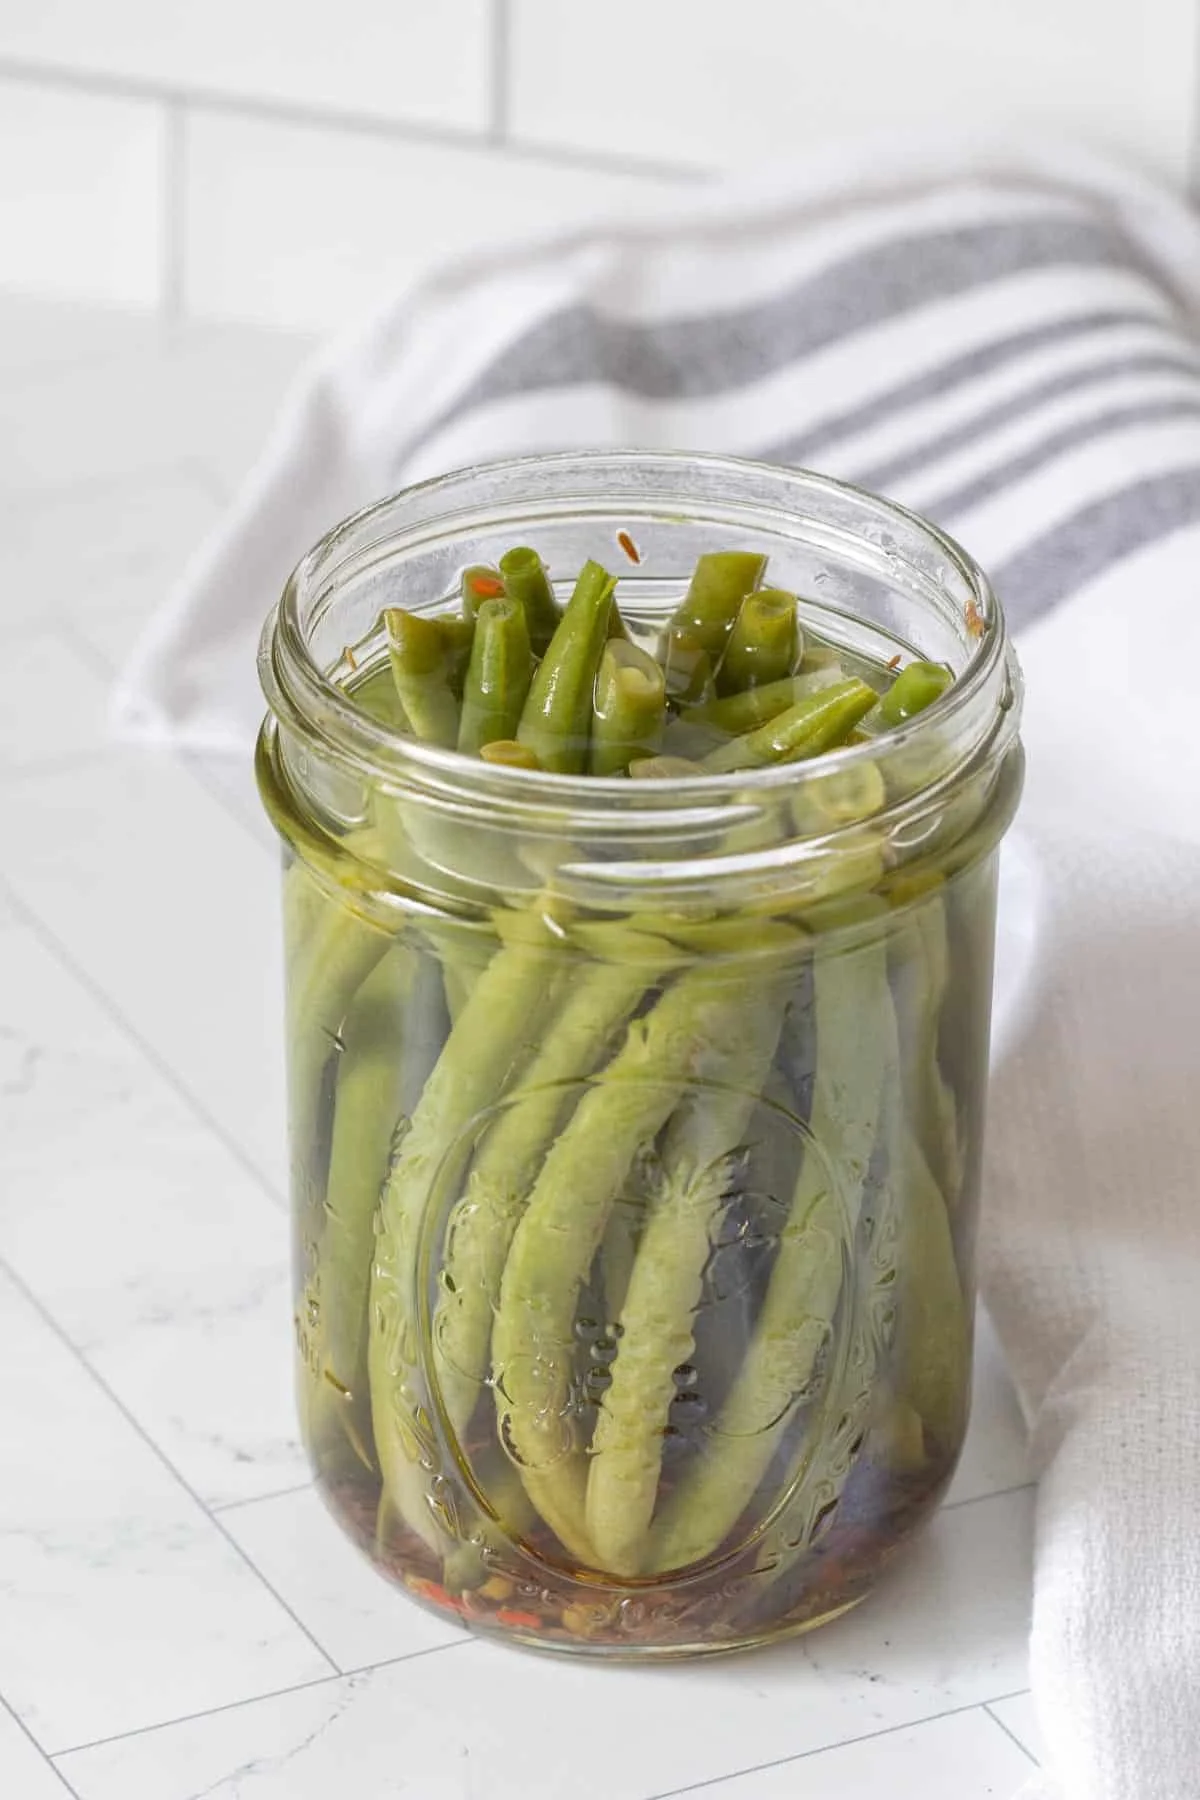
Pickled Green Beans
Pickled Green Beans are a delightful way to preserve the crispness and vibrant flavors of fresh green beans, offering a burst of tangy goodness that can elevate any meal. This recipe is a perfect blend of crunchy vegetables and aromatic spices, showcasing how easy it is to prepare your own flavorful pickles at home. Whether you’re looking for a unique snack, a flavorful addition to charcuterie boards, or a zesty side dish, this Step-by-Step recipe covers all you need to know to create these tangy treasures. Let’s dive into the world of pickling!
Ingredients
- 4 cloves garlic (slightly crushed): These aromatic garlic cloves release their savory essence into the brine, infusing the green beans with an irresistible flavor.
- 4 teaspoons dill seed: Dill seed brings a distinctive, herbaceous note that perfectly complements the crunchy texture of the beans.
- 1/2 teaspoon crushed red chile flakes: A subtle heat from the chile flakes adds complexity without overwhelming the palate, creating a delightful balance.
- 2 pounds green beans: Fresh, vibrant green beans are the star of this recipe, providing a satisfying crunch and bright color.
- 2 ½ cups water: Water is essential for creating the brine, helping to meld the flavors together.
- 2 ½ cups distilled white vinegar: The vinegar’s sharp acidity is crucial for the pickling process, ensuring the beans are perfectly preserved.
- ¼ cup pickling salt: This salt is vital for the brine, enhancing the flavors and keeping your pickles crisp.
Step-by-Step Directions
-
If using a water bath canner, fill it with water, cover it, and set it to boil while you prepare the rest of the recipe. This preliminary step ensures that your jars will be processed efficiently.
-
Divide the crushed garlic, dill seed, and crushed red chile flakes between four pint jars. The combination of these ingredients will create a flavorful foundation for your pickles.
-
Trim the green beans to fit snugly inside the jars, packing them tightly. Depending on the size of your beans, you may not need all of them. The goal is to fill each jar while keeping the beans upright.
-
In a saucepan over medium-high heat, bring the water, distilled white vinegar, and pickling salt to a boil. Stir gently to ensure the salt dissolves completely. The mixture will transform into a tangy brine perfect for your green beans.
-
Carefully pour the hot brine into the prepared jars, leaving about ¼-inch of space at the top. It’s common for the beans to float to the top. Use a chopstick or dowel to gently dislodge any air bubbles for an even seal.
-
After filling the jars, add the lids and screw on the bands fingertip tight to ensure a proper seal.
-
Gently lower the filled jars into the boiling water bath. Cover and process for 5 minutes. This step helps to sterilize and seal the jars for long-term storage.
-
When the time is up, turn off the heat and wait an additional 5 minutes before carefully removing the jars to a towel-lined countertop. Allow the jars to rest for at least 12 hours to ensure they seal properly. If any jars fail to seal, store them in the refrigerator.
-
After the jars have cooled to room temperature, transfer them to the refrigerator. Remember, unpreserved jars should never be stored in the pantry.
Tips & Tricks
- For a zestier flavor, consider adding additional spices such as mustard seeds or coriander seeds to the jars.
- If you prefer a sweeter pickle, a small amount of sugar can be added to the brine.
- Make sure to use fresh, crisp beans. The quality of the vegetable directly influences the final taste and texture.
- For added crunch, some people like to add a leaf of grape or bay leaf to each jar.
- Always ensure your jars and lids are properly sterilized to prevent spoilage.
Serving Suggestions & Pairings
Pickled Green Beans are incredibly versatile. Serve them right from the jar as a snack or appetizer, or add them to salads for a tangy crunch. They make a fabulous addition to charcuterie boards alongside meats and cheeses, or you can toss them into stir-fries for an extra layer of flavor. They pair beautifully with roast meats and are a great condiment for sandwiches or burgers.
Nutritional Information
Each serving of pickled green beans (about ¼ cup) contains approximately:
- Calories: 30
- Protein: 1g
- Fat: 0g
- Carbohydrates: 6g
- Fiber: 2g
- Sodium: 280mg (due to the pickling salt)
These tasty snacks are low in calories and provide a good source of dietary fiber, which can contribute to a balanced diet.
Storing Tips & Variations
Store your sealed jars of Pickled Green Beans in a cool, dark place. They can last up to a year when sealed properly. Once opened or for any unsealed jars, refrigerate and enjoy within a few weeks. Variations include experimenting with different spices or vegetables — try pickling carrots, cucumbers, or cauliflower alongside your green beans for a colorful mix!
Conclusion
Pickled Green Beans are an excellent recipe for anyone looking to dip their toes into the world of canning. It’s a wonderful way to preserve the vibrant flavors of fresh green beans and create something truly delicious. We encourage you to give this recipe a try, and share your experience with friends and family. Feel free to experiment with your own twists, and enjoy the satisfaction of homemade pickles!
FAQs
-
Can I use other types of beans for this recipe?
Yes! While green beans are commonly used, you can try other types of beans, although cooking times and canning procedures may vary. -
How long do pickled green beans last?
If stored properly in a sealed jar, pickled green beans can last up to a year. Once opened, keep them refrigerated for up to 2-3 weeks. -
What can I do if my jars don’t seal?
If your jars don’t seal, place them in the refrigerator and consume them within a few weeks. You can also try to reprocess them. -
Can I pressure can pickled green beans?
While a water bath method is traditionally used for high-acid foods like pickles, you can pressure can them as well, following safe canning guidelines. -
What do I do if I want to modify the level of spice?
Spice levels can be adjusted by increasing or decreasing the amount of crushed red chile flakes, allowing you to customize your pickles to your preferred heat level.
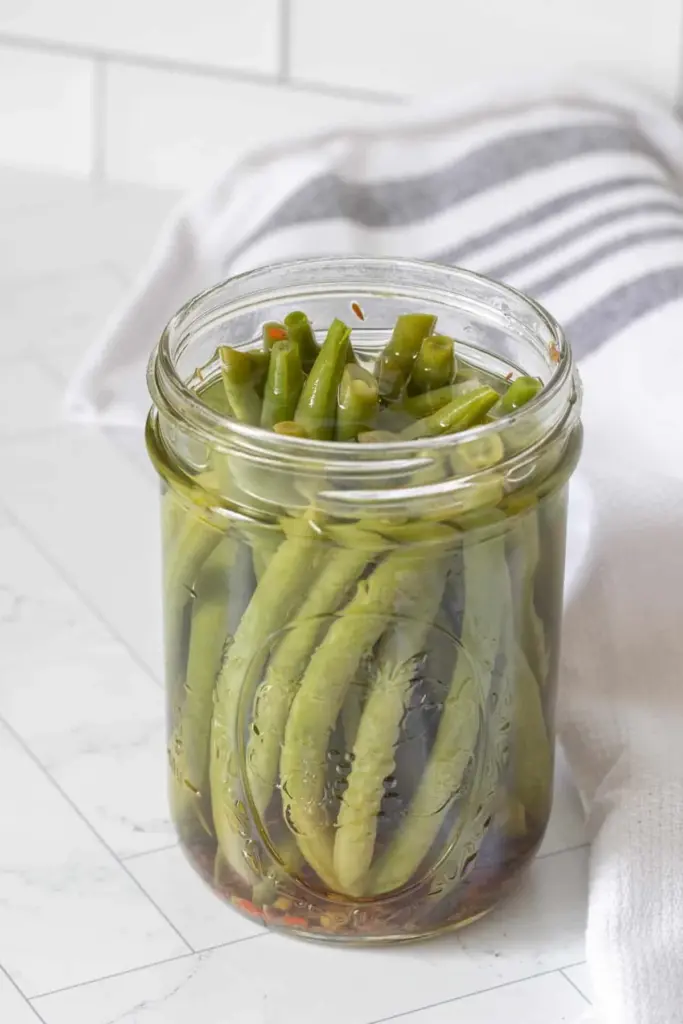
Pickled Green Beans
Ingredients
Method
- Fill a water bath canner with water, cover it, and set it to boil while you prepare the rest of the recipe.
- Divide the crushed garlic, dill seed, and crushed red chile flakes between four pint jars.
- Trim the green beans to fit snugly inside the jars, packing them tightly.
- In a saucepan over medium-high heat, bring the water, distilled white vinegar, and pickling salt to a boil.
- Carefully pour the hot brine into the prepared jars, leaving about ¼-inch of space at the top.
- Add the lids and screw on the bands fingertip tight to ensure a proper seal.
- Gently lower the filled jars into the boiling water bath, cover, and process for 5 minutes.
- Turn off the heat and wait an additional 5 minutes before carefully removing the jars.
- Allow the jars to rest for at least 12 hours to ensure they seal properly.
- Transfer cooled jars to the refrigerator if not sealed properly.

Leave a Reply