
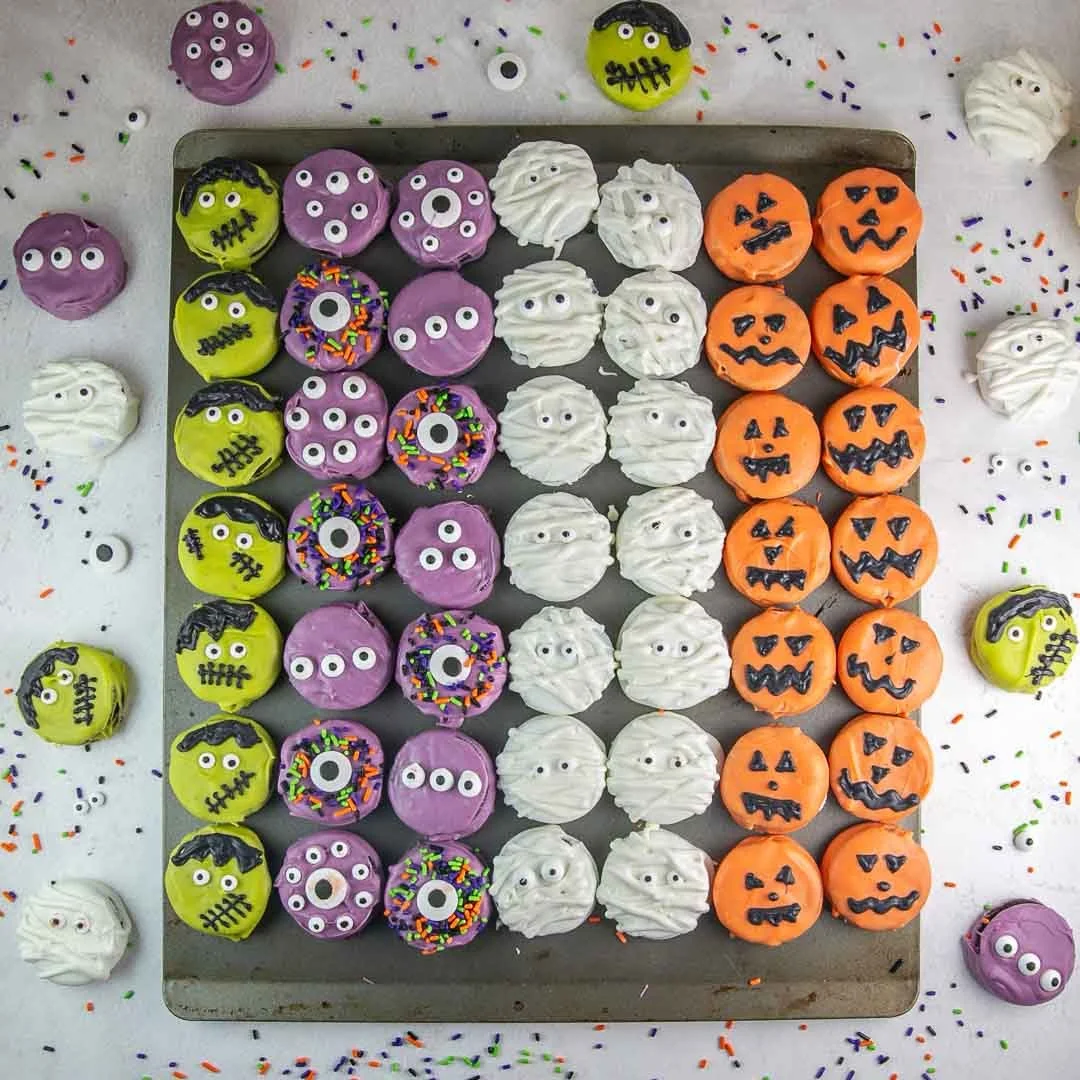
Chocolate Covered Halloween Oreos are a delightful treat that imbue the spirit of Halloween with every bite. Imagine juicy, soft Oreo cookies enveloped in creamy candy melts, transformed into whimsical creations that will make your festive gathering even more special. This recipe is not just simple to make but also brings a sense of nostalgia and joy, perfect for kids and adults alike. In this step-by-step guide, you’ll learn how to create these spooky delights that are sure to impress guests and family members during Halloween celebrations.
Ingredients
To make your Chocolate Covered Halloween Oreos, gather the following ingredients to ensure a flavorful and visually appealing treat:
- 40 chocolate sandwich cookies – The classic crispy, dark chocolate cookie that pairs perfectly with sweet coatings.
- 6 ounces each of candy melts in white, green, purple, and orange – These creamy, vibrant melts will create a festive coating, adding both color and sweetness.
- 2 ounces of black candy melts – Use these for a striking contrast and intricate designs to make your creations pop.
- Halloween sprinkles – A delightful mix of colors and shapes to sprinkle on top, giving your treats a fun and spooky touch.
- Candy eyeball decorations – These whimsical additions add personality to your treats, making them eye-catching and playful.
Step-by-Step Directions
Creating your Chocolate Covered Halloween Oreos is easier than you may think. Follow these clear and vivid steps to ensure your treats turn out perfectly every time:
-
Prepare Your Workspace: Line a cookie sheet with wax paper or a smooth reusable silicone baking sheet. This creates a non-stick surface for your cookies.
-
Melt the Candy Melts: Choose one color of candy melts to start. In a microwave-safe glass bowl, melt the candy at 50% power, stirring every 30 seconds. Continue until the mixture is fully melted and smooth.
-
Coat the Oreos: Drop one Oreo cookie into the melted candy. Use a spoon to flip the Oreo upside-down, ensuring every side is coated in the colorful candy melt.
-
Remove Excess Coating: Use a fork to scoop up the coated cookie and gently shake it to remove any excess candy coating. This ensures a nice, even layer.
-
Transfer to Cookie Sheet: Move the coated Oreo to your prepared cookie sheet.
-
Add Fun Toppings: Immediately sprinkle Halloween-themed sprinkles or place candy eyeballs on top before the candy coating hardens.
-
Create Designs: Once the first layer of candy melts has set, melt the black candy melts using the same method. Pipe on additional designs atop your cookies using a piping bag and small piping tip for that extra spooky flair.
-
Store for Maximum Freshness: After the candy coating has hardened completely, store your Chocolate Covered Halloween Oreos in an airtight container at room temperature for up to 2 weeks.
Tips & Tricks
- Color Combinations: Feel free to mix and match different candy melt colors for a more colorful presentation.
- Cooling Time: Allow cookies to set at room temperature to maintain their texture and avoid condensation.
- Enhanced Flavor: Experiment by adding flavor extracts like vanilla or almond to the candy melts before melting for an extra dimension of taste.
Serving Suggestions & Pairings
These Chocolate Covered Halloween Oreos are best enjoyed as a festive dessert at Halloween parties or as a sweet treat while watching scary movies. They pair beautifully with warm apple cider or a glass of milk, enhancing their rich, chocolatey flavors. These treats can also be packaged as charming party favors, bringing smiles to friends and family.
Nutritional Information
Each Chocolate Covered Halloween Oreo contains approximately 150 calories. The treats are relatively high in sugar due to the candy melts. However, indulging occasionally for celebrations remains essential—balance is key!
Storing Tips & Variations
To store your treats, keep them in an airtight container away from direct sunlight. They can sustain their quality for up to 2 weeks. If you wish to freeze them, wrap them individually in plastic wrap before placing them in a freezer-safe bag; they can last up to 2 months.
Variations:
- Flavor Variants: Instead of classic chocolate Oreos, try using peanut butter or caramel-filled cookies for a unique twist.
- Theme Customization: Adapt the colors and designs of the coatings and decorations for other holidays or themes throughout the year.
Conclusion
Chocolate Covered Halloween Oreos are an irresistible delight that will surely become a staple in your autumn celebrations. The joy of making and sharing these treats can brighten any occasion. Give the recipe a try at your next Halloween gathering and share your experiences—your friends and family will thank you!
FAQs
-
Can I use regular chocolate for this recipe?
Yes, you can use regular chocolate, but candy melts are specifically crafted for easy melting and coating. -
How long does it take for the candy coating to harden?
Typically, it takes about 30 minutes to an hour for the candy coating to fully harden at room temperature. -
Are there alternative toppings I can use?
Absolutely! Consider crushed nuts, edible glitter, or even small candies for unique designs. -
Can I make these a day in advance?
Yes, you can make these treats a day ahead of time; just ensure they are stored properly to maintain freshness. -
What can I do if my candy melts are too thick?
If your candy melts are too thick, add a small amount of vegetable oil or shortening to thin it out for better coating consistency.
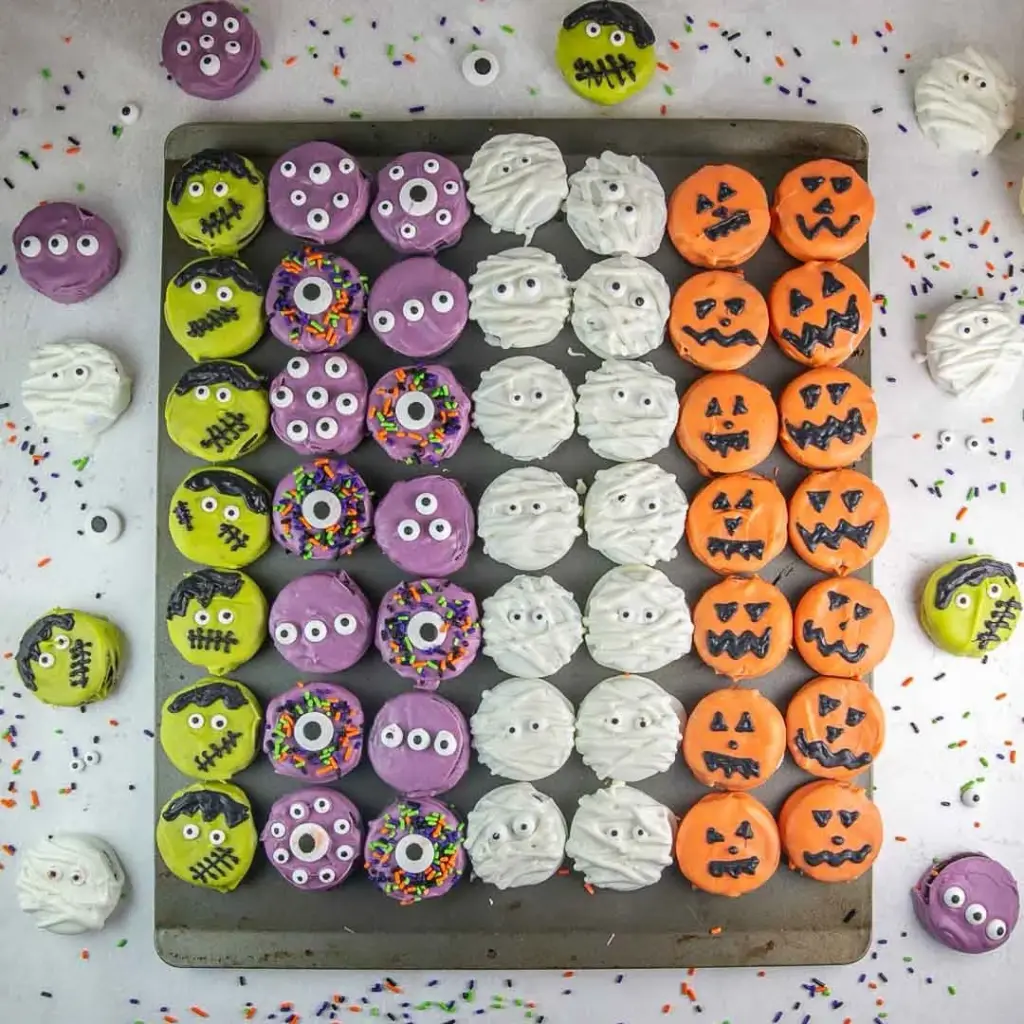
Chocolate Covered Halloween Oreos
Ingredients
Method
- Line a cookie sheet with wax paper or a reusable silicone baking sheet.
- In a microwave-safe bowl, melt one color of candy melts at 50% power, stirring every 30 seconds until fully melted and smooth.
- Drop one Oreo cookie into the melted candy and use a spoon to flip it upside down to fully coat.
- Use a fork to remove the cookie, gently shaking to remove excess coating.
- Transfer the coated Oreo to the prepared cookie sheet.
- Sprinkle with Halloween sprinkles or add candy eyeballs before the coating hardens.
- Once the first layer sets, melt the black candy melts and pipe designs on top using a piping bag.
- Allow the candy coating to harden completely, then store in an airtight container at room temperature for up to 2 weeks.




Leave a Reply