
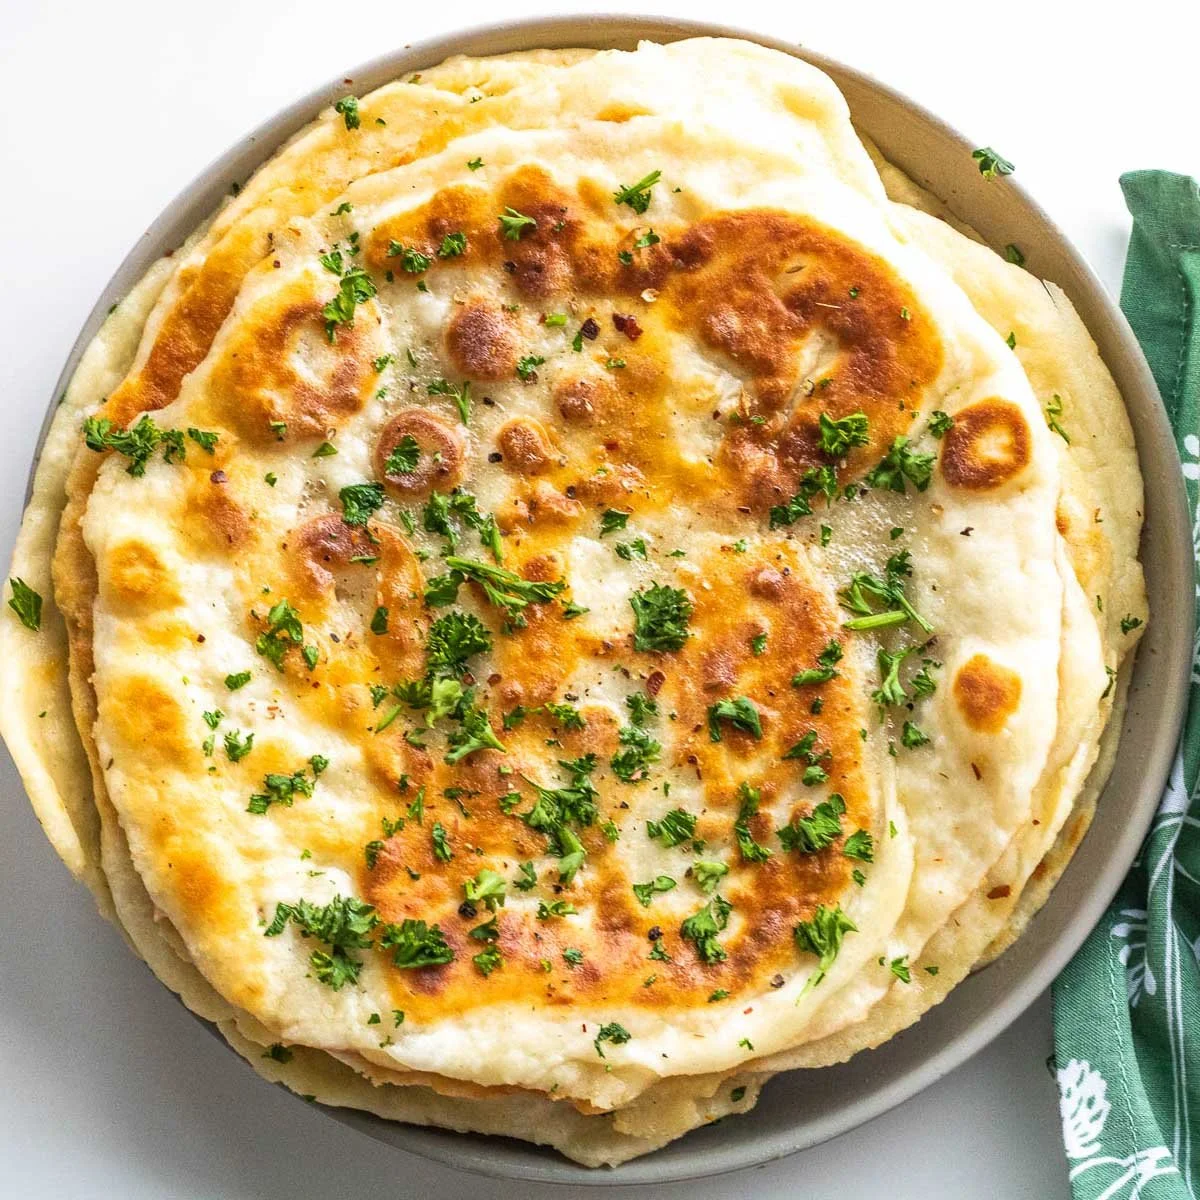
No Yeast Pita Bread is a simple yet delightful recipe that can transform your meals into a Mediterranean feast. With its warm, fluffy texture and soft, pillowy feel, this bread is perfect for making wraps or serving alongside dips like hummus or tzatziki. The best part? It’s super easy to make with just a few ingredients, and it doesn’t require any yeast or lengthy rise times. This step-by-step recipe ensures you can whip up a batch of No Yeast Pita Bread in no time, making it a fantastic choice for busy families or anyone looking for a comforting, homemade bread.
Ingredients
To make your No Yeast Pita Bread, you’ll need the following ingredients:
- 1 1/2 cups all-purpose flour: The base of your pita, providing a soft and tender texture.
- 1 teaspoon baking powder: This is the leavening agent that gives your bread a lovely rise and fluffy consistency.
- 1 teaspoon salt: Enhances the flavor, making every bite satisfying and savory.
- 1 cup plain Greek yogurt: Creamy and tangy, it binds the ingredients together while adding moisture and richness, resulting in a delightful flavor.
Gather these simple items and get ready to make your kitchen smell amazing with warm bread!
Step-by-Step Directions
-
Combine Dry Ingredients: In a mixing bowl, whisk together the all-purpose flour, baking powder, and salt until they are well blended. The lightness of the flour mingling with baking powder creates a fine, airy mixture.
-
Incorporate the Yogurt: Add the creamy Greek yogurt to the dry mix. Use a fork to gently combine until a shaggy dough begins to form. If the mixture is too sticky, sprinkle in a little more flour a teaspoon at a time until you achieve a manageable consistency.
-
Knead the Dough: Transfer the dough onto a lightly floured surface. Knead gently for about a minute until it becomes smooth and elastic. The dough should be soft but not overly sticky.
-
Divide the Dough: Divide the dough into six equal pieces. You can roll them into balls, which is a fun step that kids can help with!
-
Roll Out the Pita: Flatten each dough ball to form disc shapes, about 1/4 inch thick. Use a rolling pin for perfect circles, but don’t stress about getting them perfectly round; the character of homemade bread adds charm!
-
Cook the Pita: Heat a non-stick skillet over medium heat. Once hot, place one pita in the skillet. Cook for about 2-3 minutes on each side, or until golden brown spots form. Repeat with the remaining pitas, adjusting the heat as necessary to prevent burning.
-
Enhance Your Pita (optional): For an additional layer of flavor, brush the warm pita with melted butter, rub it with a garlic clove, and sprinkle with freshly chopped parsley.
Now, you have delicious No Yeast Pita Bread ready to be enjoyed!
Tips & Tricks
- Dough Consistency: The key to perfect pita is the dough’s consistency. It should be soft but not sticky, so adjust the flour and yogurt accordingly during mixing.
- Avoid Overworking: Knead just enough—too much can lead to tough bread. Aim for a soft, pliable texture.
- Skillet Temperature: Ensure your pan is hot enough to create those perfect golden brown spots, but not so hot that the bread burns before it cooks through.
- Flavor Additions: Experiment by adding herbs like oregano or thyme to the dough for added flavor.
Serving Suggestions & Pairings
No Yeast Pita Bread is incredibly versatile! Serve it fresh from the skillet as a side with Middle Eastern dishes like falafel or grilled meats. It’s also perfect for making wraps filled with grilled vegetables, chicken, or roasted beef. For a light snack, enjoy your pita with dips such as hummus, baba ganoush, or a refreshing cucumber yogurt sauce.
Nutritional Information
Each pita bread contains approximately 130 calories, with a balanced mix of carbohydrates, proteins, and healthy fats, especially if you garnish with butter and herbs. They are a good source of energy and are relatively low in calories, making them a guilt-free addition to your meals.
Storing Tips & Variations
- Storing: Store any leftover pitas in an airtight container at room temperature for up to three days. To keep them fresh, you may wish to place a paper towel inside to absorb moisture.
- Freezing: For longer storage, freeze the cooked pitas in a single layer on a baking sheet, then transfer to a zip-top bag. They can last up to three months.
- Reheating: To reheat, simply warm them in a skillet for a minute on each side or zap them in the microwave for 10-15 seconds until warm.
- Variations: Experiment with whole wheat flour for a healthier twist, or add herbs and spices directly into the dough for a unique flavor profile.
Conclusion
There’s something truly special about making your own bread, and No Yeast Pita Bread is a fantastic introduction to baking at home. Not only is it quick and easy, but it also fills your kitchen with a wonderful aroma that will have everyone coming to the table. So give this recipe a try, and don’t forget to share your experience with friends and family!
FAQs
-
Can I make this recipe gluten-free?
Yes, you can substitute the all-purpose flour with a gluten-free flour blend. Just be mindful that texture may vary. -
How do I know when the pita is fully cooked?
Look for golden brown spots on both sides, and check for a slight puff; this indicates that it has cooked through. -
What should I do if my dough is too sticky?
Sprinkle in a little more flour, a teaspoon at a time, until the dough is manageable and does not stick to your fingers. -
Can I add ingredients to the dough?
Absolutely! Feel free to incorporate seasonings like garlic powder or dried herbs for an extra flavor punch. -
What’s the best way to serve leftover pita?
Reheat in a skillet or microwave, and serve with your favorite dips or fill them up for tasty wraps.
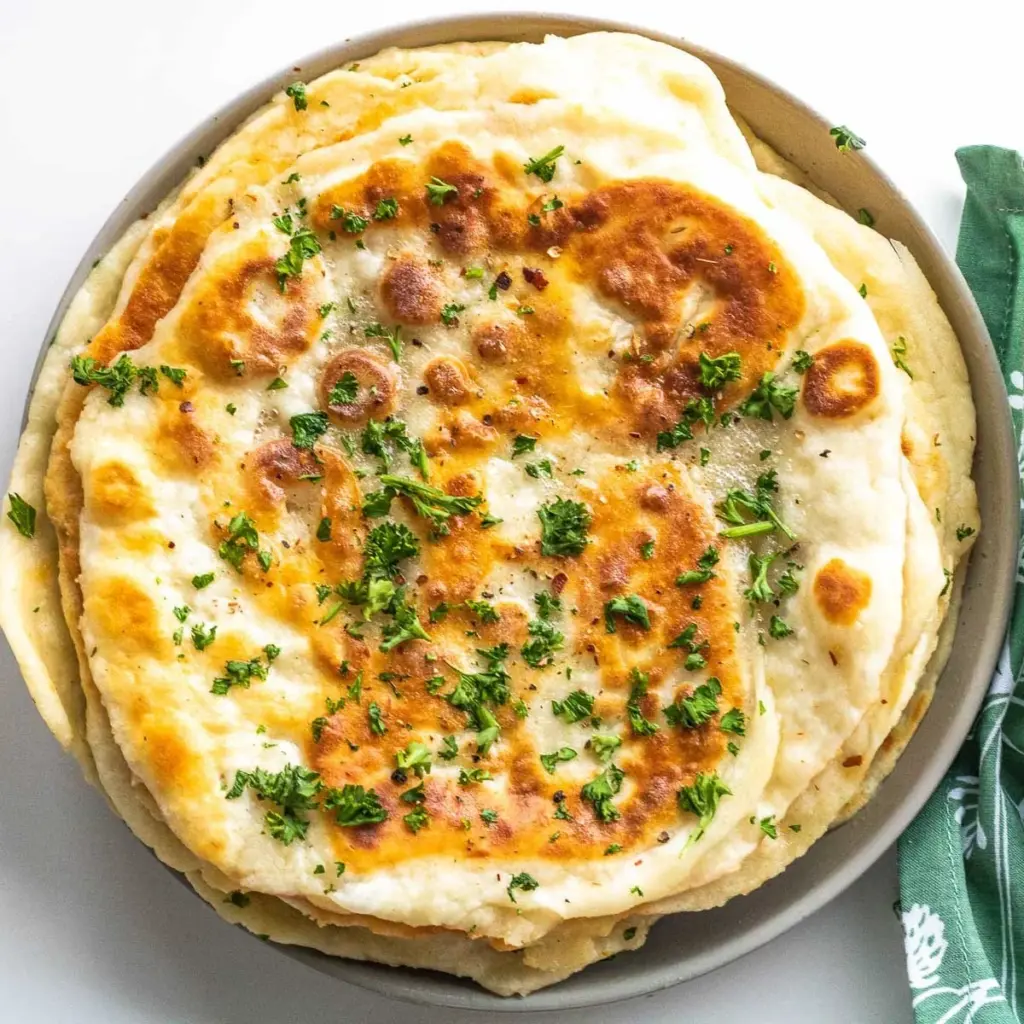
No Yeast Pita Bread
Ingredients
Method
- In a mixing bowl, whisk together the all-purpose flour, baking powder, and salt until they are well blended.
- Add the creamy Greek yogurt to the dry mix. Use a fork to gently combine until a shaggy dough begins to form.
- If the mixture is too sticky, sprinkle in a little more flour a teaspoon at a time until you achieve a manageable consistency.
- Transfer the dough onto a lightly floured surface and knead gently for about a minute until it becomes smooth and elastic.
- Divide the dough into six equal pieces. Roll them into balls.
- Flatten each dough ball to form disc shapes, about 1/4 inch thick.
- Heat a non-stick skillet over medium heat. Place one pita in the skillet.
- Cook for about 2-3 minutes on each side, or until golden brown spots form.
- Repeat with the remaining pitas, adjusting the heat as necessary to prevent burning.
- For enhanced flavor, brush the warm pita with melted butter, rub with a garlic clove, and sprinkle with freshly chopped parsley.

Leave a Reply